

Over my summer break, I decided to dust off my programming skills and build something fun. I'd been teaching ICT and Computer Science for a while, but hadn't written a line of game code in years. So I picked up Unity and C# to build a simple space shooter from scratch. For more details, check out Unity 6 Editor: Revolutionizing Game Development with Cuttin. For more details, check out Building a Real-Time Chat App with Laravel Livewire and Push. For more details, check out How Hackers Actually Get Into Facebook Accounts (And How to .
Here's what I built, what I learned, and the actual code that made it work.
Why Unity?<
/h2>
Unity is a cross-platform game engine developed by Unity Technologies. It was first announced back in June 2005 at Apple's WWDC as a Mac-exclusive engine. Fast forward to today, and it supports over 27 platforms — Windows, macOS, Linux, iOS, Android, consoles, and more. You can build both 2D and 3D games, simulations for desktop and mobile, even VR experiences.
The current stable version is Unity 6 (released in 2024), which brings AI-assisted development with Unity Copilot, enhanced visual scripting, and real-time path tracing. But everything I'll show you here works on any recent version of Unity.
If you're new to Unity, it's free for personal use and hobby projects. Download it from unity.com and you can follow along with everything in this post.
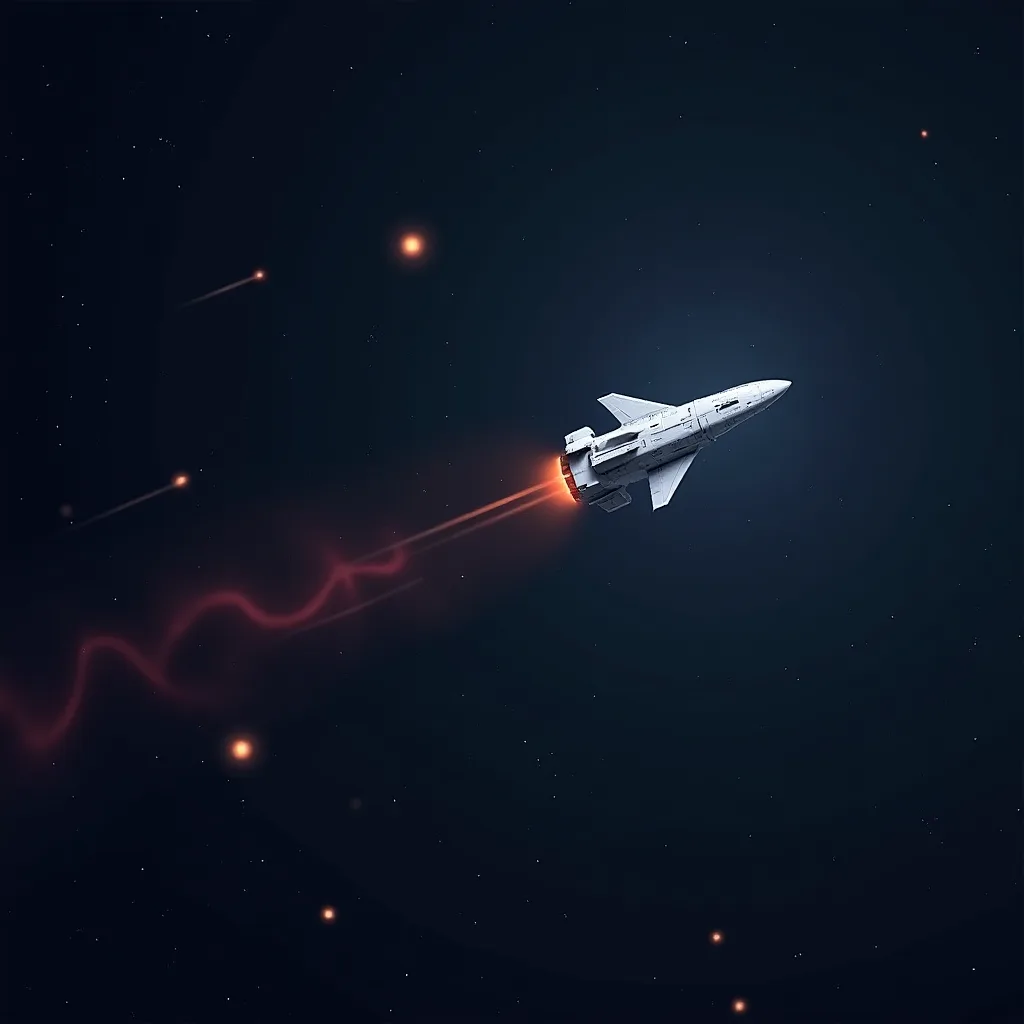
My Game: A Simple Space Shooter
The game is straightforward — a player ship at the bottom of the screen, enemies coming from above, power-ups to collect, and a score to chase. Think Galaga meets modern game feel.
The player can: - Move left and right (and vertically in some sections) - Fire lasers - Pick up triple-shot power-ups - Activate a speed boost - Collect shields - Lose up to 3 lives before game over
Let's walk through the key pieces of code.
The Player Class — Core Movement and Shooting
This is the heart of the game. The Player class handles movement, firing, power-ups, lives, and collisions.
using System.Collections;\nusing UnityEngine;\n\npublic class Player : MonoBehaviour\n{\n public bool canTripleshot = false;\n public bool SpeedboostActive = false;\n public bool ShieldsActive = false;\n public int playerLives = 3;\n [SerializeField]\n private GameObject _explotionPrefab;\n [SerializeField]\n private GameObject _laserPrefab;\n [SerializeField]\n private GameObject _tripleShotPrefab;\n [SerializeField]\n private GameObject _shieldgameObject;\n [SerializeField]\n private GameObject _thrusterGameObject;\n [SerializeField]\n private GameObject[] _engines;\n [SerializeField]\n private float _fireRate = 0.25f;\n private float _canFire = 0.0f;\n [SerializeField]\n private float _speed = 5.0f;\n private UIManager _uiManager;\n private GameManager _gameManager;\n private SpawnManager _spawnManager;\n private AudioSource _audioSource;\n private int _hitCount;\nKey Design Decisions
I used [SerializeField] instead of public for most variables. This is a Unity best practice — it keeps the variables accessible in the editor inspector while maintaining encapsulation in code. It's a small habit that makes a big difference as your project grows.
The _fireRate and _canFire variables work together to control how fast the player can shoot. Every time the player presses fire, the game checks if enough time has passed since the last shot. This prevents the player from spamming lasers too fast.
Power-Up System
The three boolean flags — canTripleshot, SpeedboostActive, ShieldsActive — trigger different behaviors when the player collects power-ups. Each power-up is a different colored object that falls from the top of the screen. When the player collides with one, the corresponding flag is set to true and a timer starts. After a few seconds, the effect wears off.
This is a simple but effective design pattern. You could extend it easily — add more power-up types, stackable effects, or different durations.
Spawning Enemies
The SpawnManager handles enemy creation. It runs a coroutine that spawns enemies at random X positions above the screen at regular intervals. As the player's score increases, the spawn rate gets faster — that's the classic difficulty curve.
IEnumerator SpawnRoutine()\n{\n while (!_gameManager.GameOver)\n {\n Instantiate(_enemyPrefab, \n new Vector3(Random.Range(-8f, 8f), 7f, 0), \n Quaternion.identity);\n yield return new WaitForSeconds(Random.Range(1f, 3f));\n }\n}\nNothing fancy here, but it works. The Random.Range for the spawn interval prevents the game from feeling too predictable.
Visual Effects with Particle Systems
One of the cooler aspects was adding explosions and engine thrust effects using Unity's particle system. When a player gets hit, an explosion prefab instantiates at their position. The engine thruster is a small particle system that follows the ship.
The coolest detail? As the player takes damage (up to 3 hits), different engine parts visually break. The _engines array holds references to engine game objects, and I disable them one by one as the player's health decreases. It gives real visual feedback without needing complex animation.
UI and Game Management
The UIManager handles score display, lives remaining, and the game over screen. The GameManager tracks game state — is the game running, paused, or over? It's a simple state machine.
One tip I'd give any Unity beginner: keep your managers separate and use the Singleton pattern sparingly. Overusing Singletons makes your code tightly coupled and hard to debug. I used them here for simplicity, but for a larger project I'd switch to a dependency injection approach or Unity's ScriptableObject-based event system.
What I'd Do Differently Today
Looking back at this code, here's what I'd change:
- Use Unity's new Input System — When I wrote this, I used the old input manager. Unity's new Input System is more flexible and supports controllers natively.
- Object pooling — I'm instantiating and destroying lasers and enemies constantly. Object pooling would reduce garbage collection spikes and improve performance.
- ScriptableObjects for power-ups — Instead of boolean flags, I'd define power-up types as ScriptableObjects. This makes adding new power-ups a data change, not a code change.
- Better separation of concerns — The Player class does too much. Movement, shooting, collision, power-up management — these could be separate components.
Getting Started Yourself
If you want to build something similar:
- Download Unity Hub — It manages your Unity versions and projects
- Start with a 2D template — The space shooter works great as a 2D project
- Follow the Unity Learn tutorials — The "Create with Code" course is excellent
- Build small — My space shooter is maybe 500 lines of C# total. You don't need a huge codebase to make something fun
Unity has come a long way since I first touched it years ago. Whether you're a teacher like me brushing up on skills, or a complete beginner looking to make your first game, Unity 6 makes it more accessible than ever.
The space shooter taught me something important: game development is the best way to learn programming because it gives you instant, visual feedback. Every line of code either makes something happen on screen or it doesn't. There's no better motivation.
— Techie Mike
