


Real-time features used to mean wrestling with WebSocket servers, running a separate Node process, or paying for hosted infrastructure that was overkill for small apps. But Laravel Livewire combined with Pusher changes the game — you can build real-time interfaces entirely in PHP, without writing a single line of client-side JavaScript. For more details, check out Building a Real-Time Chat App with Laravel Livewire and Push. For more details, check out Setting Up a Python Development Environment on VirtualBox wi. For more details, check out Step-by-Step Guide: Setting Up Laravel with AdminLTE and Mul.
In this tutorial, I'll walk through building a real-time chat application step by step. We'll cover setup, broadcasting, error handling, and deployment considerations so you can adapt this to your own projects.
What We're Building
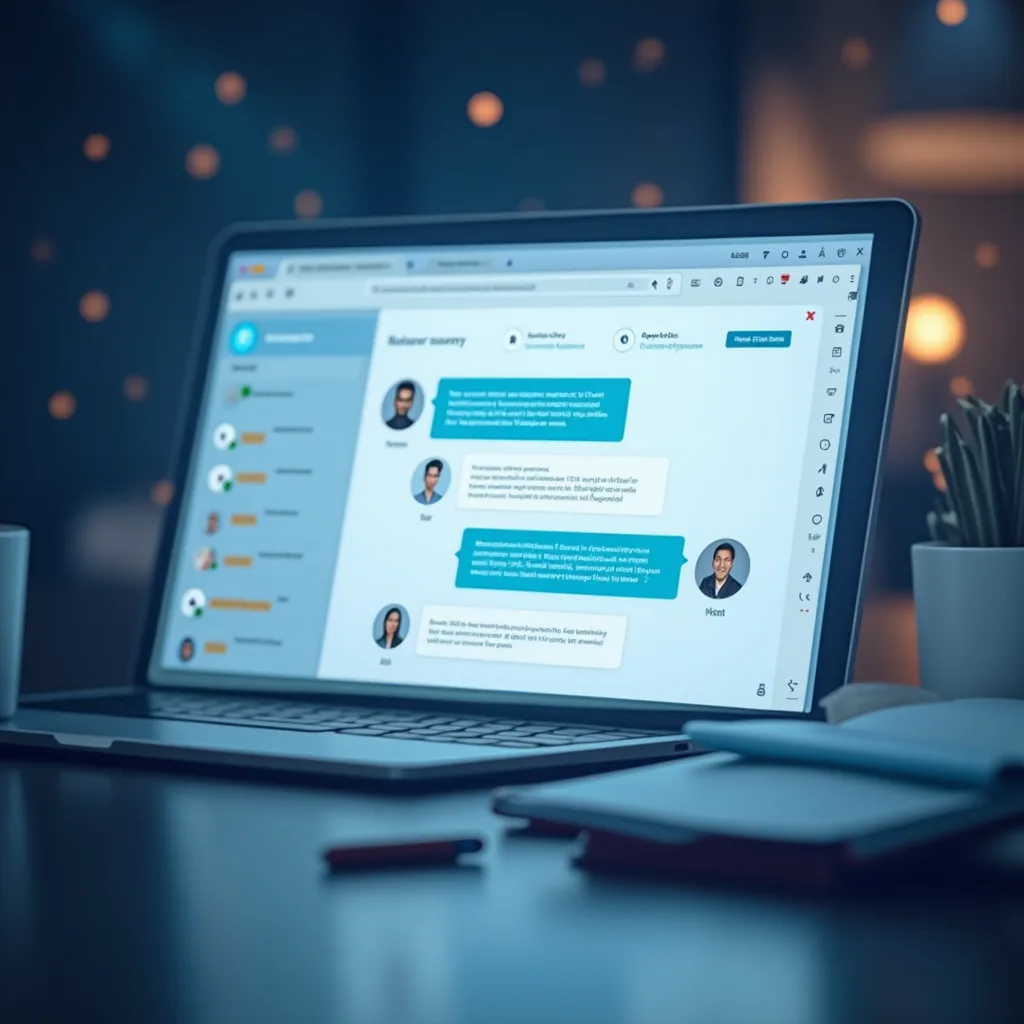
A real-time chat where messages appear instantly across all connected browsers — no page refresh, no polling, no custom WebSocket server. Livewire handles the component state, Pusher handles the real-time broadcast, and you write it all in Laravel.
Prerequisites
- Laravel 11 project (or Laravel 10 — both work)
- PHP 8.1+, Composer, Node.js 18+
- A Pusher account (free tier is fine — you get 200k messages/day)
- Basic understanding of Laravel and Livewire
Step 1: Set Up Your Laravel Project
Start fresh or add this to an existing app:
composer create-project laravel/laravel livewire-chat\ncd livewire-chat\nSet up your database in .env. For testing, SQLite works perfectly:
DB_CONNECTION=sqlite\nDB_DATABASE=/path/to/livewire-chat/database/database.sqlite\nCreate the database file and run migrations:
touch database/database.sqlite\nphp artisan migrate\nStep 2: Install Livewire
Laravel Livewire is a full-stack framework for Laravel that makes building dynamic interfaces simple. Install it:
composer require livewire/livewire\nThat's it — Livewire auto-registers in Laravel 11. If you're on Laravel 10, you'll need to add the routes middleware manually, but Laravel 11 picks it up automatically.
Step 3: Set Up Pusher
Head over to Pusher Channels and create a new app. Select Laravel as your backend and jQuery as your frontend (or whatever you prefer — the setup is the same). Note down your app credentials.
Install the Pusher PHP SDK:
composer require pusher/pusher-php-server\nUpdate your .env with the Pusher credentials:
BROADCAST_DRIVER=pusher\nPUSHER_APP_ID=your-app-id\nPUSHER_APP_KEY=your-app-key\nPUSHER_APP_SECRET=your-app-secret\nPUSHER_APP_CLUSTER=us2\nAlso update the broadcasting config in config/broadcasting.php. Laravel 11's default config already supports Pusher, so double-check the connections.pusher section references your env vars.
Install the JavaScript side:
npm install\nnpm install --save-dev pusher-js laravel-echo\nIn resources/js/bootstrap.js, uncomment and configure Echo:
import Echo from 'laravel-echo';\nimport Pusher from 'pusher-js';\n\nwindow.Pusher = Pusher;\n\nwindow.Echo = new Echo({\n broadcaster: 'pusher',\n key: import.meta.env.VITE_PUSHER_APP_KEY,\n cluster: import.meta.env.VITE_PUSHER_APP_CLUSTER,\n forceTLS: true,\n});\nAdd your Pusher vars to .env and VITE_ prefixed ones for the frontend:
VITE_PUSHER_APP_KEY=${PUSHER_APP_KEY}\nVITE_PUSHER_APP_CLUSTER=${PUSHER_APP_CLUSTER}\nBuild the frontend assets:
npm run build\nStep 4: Create the Message Model and Migration
We need to persist messages so conversations survive page refreshes.
php artisan make:model Message -m\nIn the generated migration:
public function up(): void\n{\n Schema::create('messages', function (Blueprint $table) {\n $table->id();\n $table->foreignId('user_id')->constrained()->onDelete('cascade');\n $table->text('content');\n $table->timestamps();\n });\n}\nRun the migration:
php artisan migrate\nUpdate the Message model:
<?php\n\nnamespace App\\Models;\n\nuse Illuminate\\Database\\Eloquent\\Model;\n\nclass Message extends Model\n{\n protected $fillable = ['user_id', 'content'];\n\n public function user()\n {\n return $this->belongsTo(User::class);\n }\n}\nStep 5: Build the Livewire Chat Component
Generate the component:
php artisan make:livewire Chat\nThis creates two files: - app/Livewire/Chat.php - resources/views/livewire/chat.blade.php
Chat.php — the component class:
<?php\n\nnamespace App\\Livewire;\n\nuse App\\Models\\Message;\nuse Livewire\\Component;\n\nclass Chat extends Component\n{\n public $messages = [];\n public $newMessage = '';\n public $messageCount = 0;\n\n protected $listeners = ['echo:chat-channel,MessageSent' => 'refreshMessages'];\n\n public function mount()\n {\n $this->loadMessages();\n }\n\n public function loadMessages()\n {\n $this->messages = Message::with('user')\n ->latest()\n ->take(50)\n ->get()\n ->reverse()\n ->toArray();\n $this->messageCount = count($this->messages);\n }\n\n public function sendMessage()\n {\n $this->validate([\n 'newMessage' => 'required|string|max:1000',\n ]);\n\n $message = Message::create([\n 'user_id' => auth()->id(),\n 'content' => $this->newMessage,\n ]);\n\n // Broadcast the event\n broadcast(new \\App\\Events\\MessageSent($message->load('user')));\n\n $this->newMessage = '';\n $this->loadMessages();\n }\n\n public function refreshMessages()\n {\n $this->loadMessages();\n }\n\n public function render()\n {\n return view('livewire.chat');\n }\n}\nchat.blade.php — the view:
<div class="chat-container">\n <div class="messages-box" wire:poll.5s="loadMessages">\n @if(count($messages) === 0)\n <p class="text-muted">No messages yet. Start the conversation!</p>\n @else\n @foreach($messages as $message)\n <div class="message {{ $message['user_id'] === auth()->id() ? 'own-message' : 'other-message' }}">\n <strong>{{ $message['user']['name'] }}</strong>\n <p>{{ $message['content'] }}</p>\n <small>{{ \\Carbon\\Carbon::parse($message['created_at'])->diffForHumans() }}</small>\n </div>\n @endforeach\n @endif\n </div>\n\n <div class="typing-indicator" wire:loading wire:target="sendMessage">\n Sending...\n </div>\n\n @error('newMessage') \n <div class="alert alert-danger">{{ $message }}</div>\n @enderror\n\n <form wire:submit="sendMessage">\n <input type="text" \n wire:model="newMessage" \n placeholder="Type your message..." \n class="form-control">\n <button type="submit" class="btn btn-primary mt-2" wire:loading.attr="disabled">\n Send\n </button>\n </form>\n</div>\nStep 6: Create the Broadcast Event
php artisan make:event MessageSent\nIn app/Events/MessageSent.php:
<?php\n\nnamespace App\\Events;\n\nuse App\\Models\\Message;\nuse Illuminate\\Broadcasting\\Channel;\nuse Illuminate\\Broadcasting\\InteractsWithSockets;\nuse Illuminate\\Contracts\\Broadcasting\\ShouldBroadcast;\nuse Illuminate\\Foundation\\Events\\Dispatchable;\n\nclass MessageSent implements ShouldBroadcast\n{\n use Dispatchable, InteractsWithSockets;\n\n public $message;\n\n public function __construct(Message $message)\n {\n $this->message = $message;\n }\n\n public function broadcastOn(): Channel\n {\n return new Channel('chat-channel');\n }\n\n public function broadcastWith(): array\n {\n return [\n 'id' => $this->message->id,\n 'content' => $this->message->content,\n 'user_id' => $this->message->user_id,\n 'user_name' => $this->message->user->name,\n 'created_at' => $this->message->created_at->toDateTimeString(),\n ];\n }\n}\nRegister the broadcast channel in routes/channels.php (you may need to create this file):
<?php\n\nuse Illuminate\\Support\\Facades\\Broadcast;\n\nBroadcast::channel('chat-channel', function ($user) {\n return true; // Allow all authenticated users\n});\nStep 7: Wire Up Routes and Layout
Update routes/web.php:
<?php\n\nuse App\\Livewire\\Chat;\nuse Illuminate\\Support\\Facades\\Route;\n\nRoute::get('/', function () {\n return view('welcome');\n});\n\nRoute::middleware(['auth'])->group(function () {\n Route::get('/chat', Chat::class)->name('chat');\n});\nCreate a layout at resources/views/layouts/app.blade.php:
<!DOCTYPE html>\n<html lang="{{ str_replace('_', '-', app()->getLocale()) }}">\n<head>\n <meta charset="utf-8">\n <meta name="viewport" content="width=device-width, initial-scale=1">\n <title>@yield('title', config('app.name'))</title>\n @vite(['resources/css/app.css'])\n @livewireStyles\n</head>\n<body>\n <nav class="navbar navbar-expand-lg navbar-dark bg-dark">\n <div class="container">\n <a class="navbar-brand" href="#">Livewire Chat</a>\n <div class="ml-auto">\n @auth\n <span class="text-white mr-3">{{ auth()->user()->name }}</span>\n <form method="POST" action="{{ route('logout') }}" class="d-inline">\n @csrf\n <button type="submit" class="btn btn-outline-light btn-sm">Logout</button>\n </form>\n @endauth\n </div>\n </div>\n </nav>\n\n <main class="py-4">\n <div class="container">\n @yield('content')\n </div>\n </main>\n\n @vite(['resources/js/app.js'])\n @livewireScripts\n</body>\n</html>\nAnd the chat page at resources/views/chat.blade.php:
@extends('layouts.app')\n\n@section('title', 'Chat Room')\n\n@section('content')\n <div class="row justify-content-center">\n <div class="col-md-8">\n <div class="card">\n <div class="card-header">Chat Room</div>\n <div class="card-body">\n @livewire('chat')\n </div>\n </div>\n </div>\n </div>\n@endsection\nStep 8: Test and Verify
Start the Laravel dev server and queue worker (for broadcast):
php artisan serve\nphp artisan queue:listen\nIn another terminal, build the assets:
npm run dev\nOpen http://localhost:8000/chat in two different browsers (or incognito windows). Log in as different users and send messages — you should see them pop up in real-time.
Common Issues and Fixes
Messages Not Appearing in Real-Time
Check that the queue worker is running (php artisan queue:listen). Without it, broadcast events queue up and never dispatch. Also verify your Pusher dashboard shows active connections.
Vite Not Loading Assets
Make sure you used npm run build (or npm run dev for hot reload). Check the browser console for 404s on asset URLs.
Authentication Error on Broadcast
The channel authorization route requires a logged-in user. If broadcast fails, verify you're authenticated and the routes/channels.php file exists and is registered.
Memory Issues with Large Chat History
The component loads 50 messages max. For production, add infinite scroll or pagination using Livewire's $this->loadMore() pattern.
Deployment Notes
When deploying to production:
- Queue driver: Switch to a proper queue driver like Redis or database (not
sync). Thesyncdriver works in development but blocks the request until the broadcast completes, slowing down message sending. - Broadcast events via Pusher: Make sure
QUEUE_CONNECTIONis set toredisordatabasein your.env. SetBROADCAST_DRIVER=pusher. - CORS and WebSocket connections: If your app is behind CloudFlare or a reverse proxy, make sure WebSocket connections can pass through. Pusher uses HTTPS, so this is usually fine.
- Rate limiting: Pusher free tier allows 200k messages/day. For busy chat apps, you may need to upgrade or batch updates.
Going Further
From here you can:
- Add typing indicators — broadcast a "user is typing" event triggered by
wire:keydown - Add message reactions with another Livewire component
- Implement private channels so users only see conversations they're part of
- Add file sharing with Livewire's
wire:modelfile uploads
Livewire + Pusher is a powerful combo for adding real-time features without JavaScript frameworks. The same pattern works for notifications, live dashboards, collaborative editing — anything where "it just updates" beats "hit refresh."
